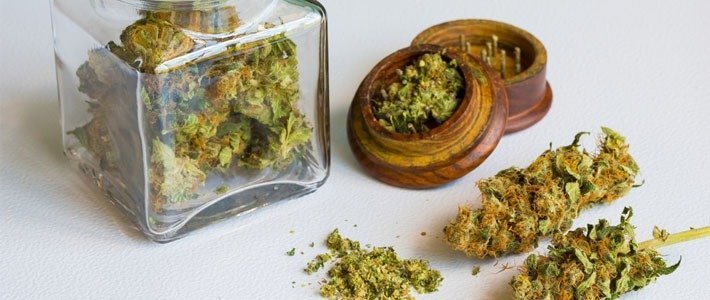
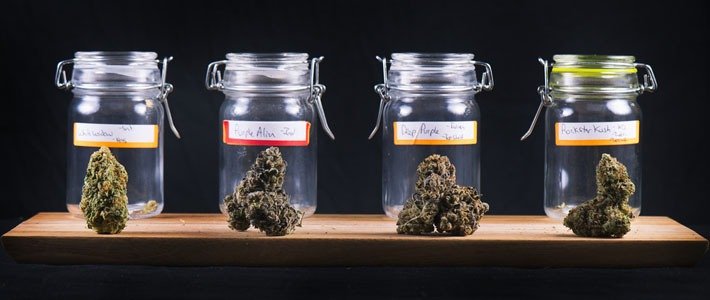
Although it’s tempting to try your buds after harvest, you still need to dry and cure your cannabis crop to ensure that it stays healthy, smokes well, and produces a quality high.
This article will explain exactly how to dry and cure weed step by step.
What you’ll need:
- drying rack or area (must have good airflow and can be light sealed)
- Mason jars
- Hygrometer (optional)
- Humidipaks (optional)
Why Dry And Cure Weed?

Drying and curing your cannabis properly will affect the levels of THC and CBD in your buds, the flavor and quality of smoke or vapor.
It’s a super important step to be patient with.
Don’t end up with buds that are weak in potency, lack flavor, or have a harsh smoke.
The NUMBER ONE reason you should properly dry and cure your buds is mold.
Failing to wait for the optimal drying and curing time could result in migraines and paranoia or even serious illness due to mold inhalation.
But since we know you’re going to do the right thing for you and your buds, let’s continue on to how to effectively dry and cure your cannabis!
Drying Your Buds Step-By-Step

Step 1 – Cut down your plant(s), laying them on a protective sheet until you can hang them.
Step 2 – Trim away any extra fan leaves from your stalks. (you could also choose to do this before you cut down your plant if you find it easier)
Step 3 – Hang your stalks upside down to dry in a dimly lit, humidity-controlled ‘room’.
Usually, a closet is sufficient, so long as you can provide air circulation and keep light out.
Make a sort of laundry line for your stalks to hang on, or get creative using clothes hangers or other household items.
Keep your drying room around 70 degrees F and the humidity between 45 – 55% using a hygrometer to monitor.
This process can take about 10 days.
Alternatively, you may use a mesh tower drying rack and place your harvested buds (taken off of the stalks) spread out in each separate compartment and hang the entire tower in a temperature-controlled room or closet.
Step 4 – Your buds are dried enough when smaller stems snap off rather than bend.
If any of the stems are still too bendy, don’t remove them as there is still water within the plant that will find its way out which will create a potential mold problem.
Check on your crop every day or so to monitor where your drying process is at and make necessary adjustments with your airflow, A/C if you are using it, humidifiers, etc, if you notice your buds seem too wet or dry during the process.
*if you dried your cannabis using method 3b, they are ready for curing as soon as the buds are dry to the touch
How To Cure Your Buds Step By Step

Step 1 – Place your newly dried buds into mason jars, with about 25% breathing room at the top.
If you used method 3a in the drying process, using good garden clippers remove the buds from the stalks and immediately place them in mason jars.
Keep these jars at 60 – 65% humidity, again using your hygrometer to monitor.
Mason jars are important over others as they stay completely sealed and do not let buds dry out and lose potency.
Step 2 – Shake it like a polaroid picture!
Kidding, don’t shake it that hard. Give the jar a gentle shake with the lid on to ensure the buds can move around.
If they are sticking together, keep the lids off the jars for a few hours and check again.
Step 3 – Over the next few weeks, open all of your jars every other day or so.
This is called “burping”.
It allows the bud to breathe, should there be any extra moisture left, preventing mold production.
It also gives you an opportunity to inspect how the buds are curing and if you need to pull any out should they still be too wet at that time in the curing process.
Step 4 – Sample your bud!
Since you have to keep such a close eye on the curing process, isn’t it just part of the job to practice quality control?
Long-Term Storage & Care

Your buds can stay in the “cure-zone” for up to 6 months, but typically only need about 8 weeks to reach their optimal potency.
Unless you smoke through your entire grow like Snoop on vacation, you’ll need to open your jars about once a month.
Make sure your mason jars are well sealed, stored in a cupboard, and not exposed to light.
For 6-month storage or longer, it’s best to consider vacuum-sealing your buds as this will keep up your levels of THC and CBD.
Be careful however not to crush your bud during this process, it is usually best to place handfuls of bud in small sealable bags before vacuum-sealing so you end up with little packages of perfectly sealed cannabis – that also won’t explode out when you cut into the vacuum-seal!
Drying & Curing FAQ’s!
Why can’t I quick dry buds?
Methods of quick-drying, such as dry ice, usually completely dry out your cannabis which means, they stop curing. This means they stop building in potency!
What do I do if buds get too dry too fast?
It’s generally best to leave them alone, maybe adding some HumidiPaks to your jars.
Attempting to add back moisture using organic materials, such as orange peel or apple slice, causes too much risk of mold production and typically will not help all that much in reviving your bud.
My buds are still too moist, what do I do?
Don’t jar buds that you are unsure about, place them back in the curing area for another 24 hours and check on them again.
You can also leave the lids off of your jars for a few hours through the first few days to be safe.
Why do I have to use mason jars?
Your tried and true mason jar with the metal screw-top lid is the best type of seal for cannabis.
Many other types of jars leak or suction out air and neither is good for your bud.
You’ll end up with dry, brittle bud that hasn’t been given the maximum time to properly cure and reach full potential potency.
Final Thoughts
Beginning the process as soon as you harvest is super important or you risk reducing the quality and potency of your buds.
The margin between under or over-dried buds is very small, so make sure to practice and keep at it; the more you grow the more you know!
Originally posted 2019-01-08 16:53:00.


 James Alexander
You are the man! Followed your dry room and Mason jar method and that is the way to go from now on! Listen to him people he knows he’s shit!
My buds r ral wet Stuckey and my stalks r bendy its been 2 weeks I dont know what to do I have 10 Mason jars am scared of ruining it
How much time do I have after the buds are cut before I put them in jars
Old School KY Redneck Outdoor Grower! Gotta a question I’m very curious about! An older ‘Old Timer’ told me years ago that when harvesting, pull the entire plant roots and all. Then, immediately dip the roots only in a pot of boiling water, then hang all to dry! I did this for years and always seemed to get good results. I haven’t done it lately though. Just wondering if it helps/hurts at all? As I recall, his reasoning was to push everything out of the roots and stalks to the buds before drying them. Any insight,experience,thoughts or ideas are appreciated! Thanks!
✌️
How many square feet would it take to dry 500 plants?
So… handsome as heck and a wealth of info. Thanks!
How much time do I have between the buds being dried and actually getting them in jars ? Have to trim it first right ? Also when cutting down is this best to do after or before light cycle ?
Thanks in advance
Very helpful guide and advice. One more bit of advice that I rarely see pointed out. Wash your hands and scissors/trimmers with olive oil (probably other oils work well also) when your finish up and throughout as needed. THC is highly hydrophobic so water and soap don’t do the trick.
Thanks for the tip, Ed! I’ll add that in to the article 🙂